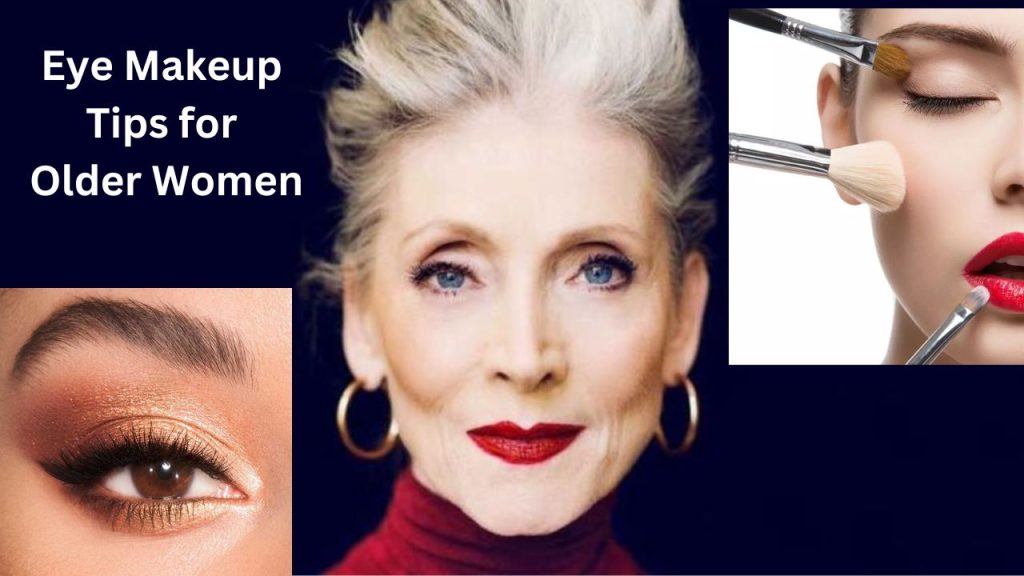
Discover expert eye makeup tips for older women that enhance your natural beauty. Learn how to create a youthful, vibrant look with these simple, age-appropriate techniques.
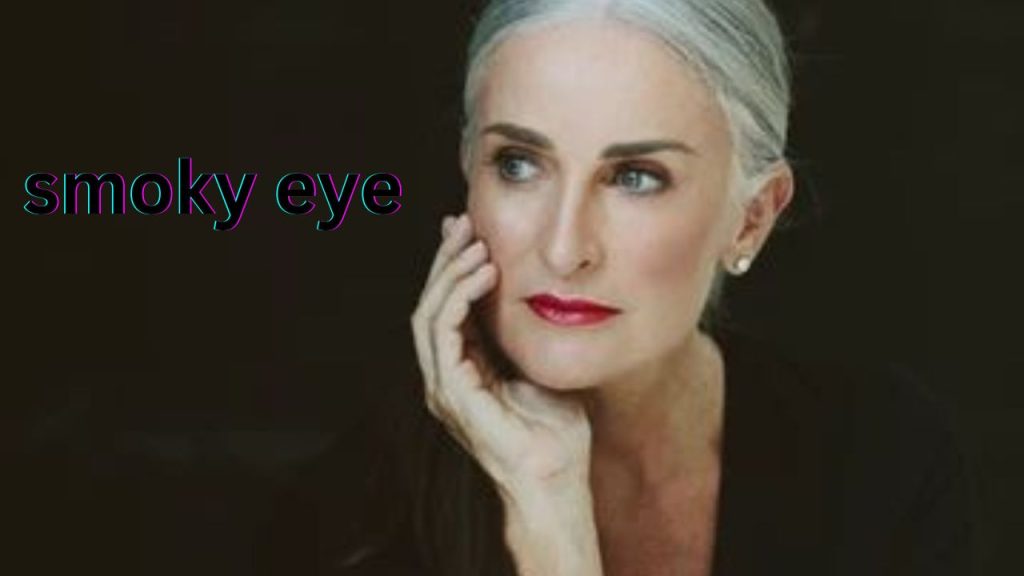
I want you to forget that made-up, imaginary rule that eye makeup over 50 should only consist of mascara. If you love makeup, you can still wear it and you can still look gorgeous wearing it. Today I’m going to show you how to do a beautiful Smokey eye on a woman who is 60. And I’m going to give you some key tips that will help you master this look all by yourself. Let’s go.
Tip number one is to take the time to focus on skin and eye prep.
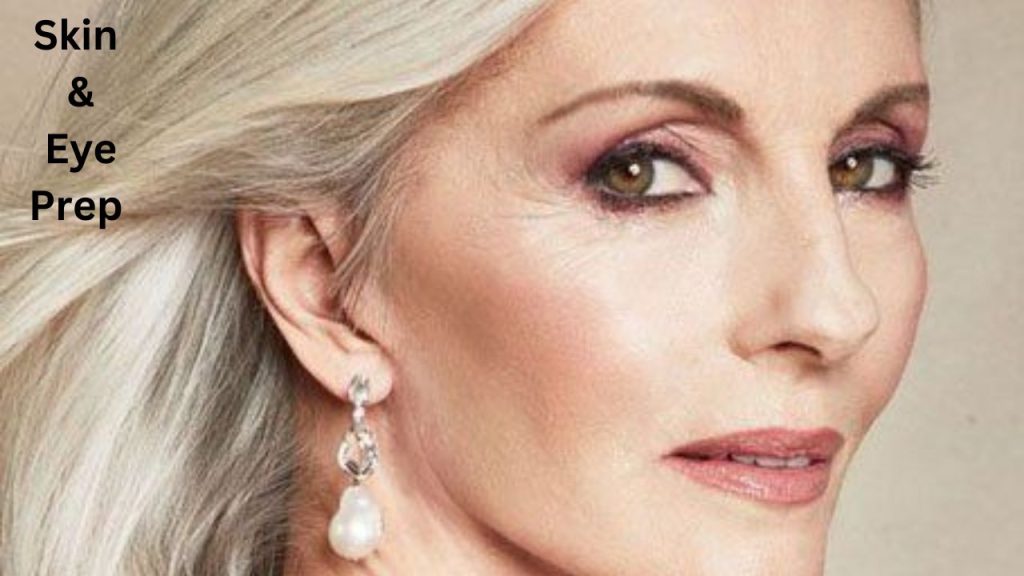
Skin & Eye Prep
When it comes to applying mature makeup, this is crucial. Because our skin tends to grow drier as we age, you want it to be somewhat moisturized. And the thing that ages us is the lack of moisture and plumpness. A truly nice eye cream that absorbs effectively and leaves the skin feeling smooth is quite vital, especially when combined with a fantastic face moisturizer. I especially like to use City Beauty’s eye cream on my lids at this step of makeup prep. We refer to it as the “lid lifting treatment.” Therefore, it is designed especially for the eyelids and constantly helps to tighten any drooping skin there. and also softens the look of the wrinkles immediately. All I do is I tap it onto the eyelid, and I allow it to set for one minute before using other products. Under the eyes, I applied an eye mask while I did her eye makeup. This helps de-puff and smooth out all of the lines around the eyes. You always, always, always want to do a smoky eye before you do any base makeup because you’re definitely going to get shadow fallout from it. No matter what shadow you use. This is super important. It’s a mistake a lot of people make. And I think it’s the reason a lot of people really hate the smoky eyes that they create on themselves. They really muddy up their foundation by doing the base first. Do the eyes first when you’re using dark shadows.
Tip number two is to prep your lids.
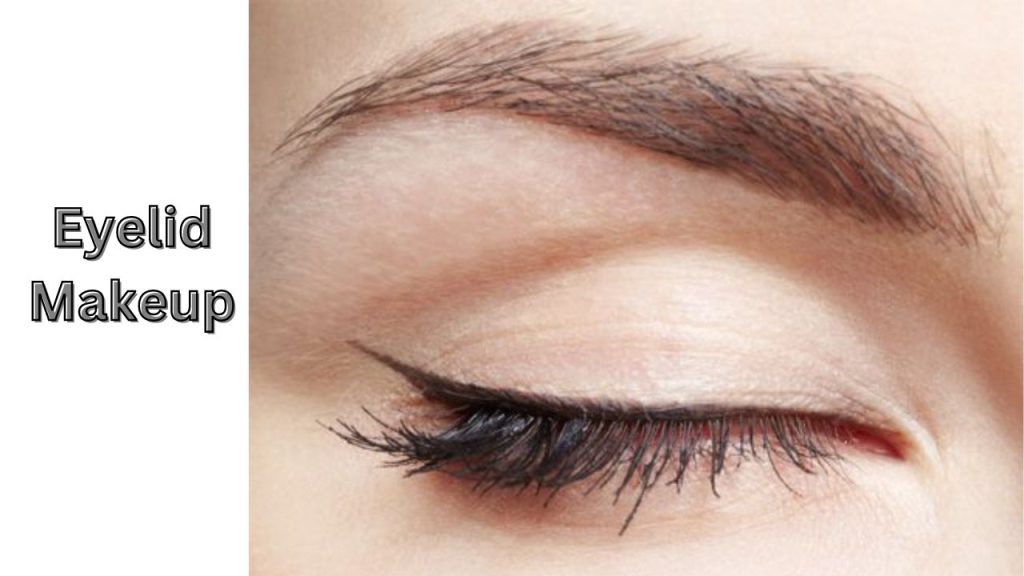
Eyelid Makeup Prep
The crease of the eye has a tendency to get quite oily throughout the day, and the oiliness will corrode the eye makeup, and it will also make it crease. Your eyelid skin is also very thin, so the veins shine through them and make them look discoloured. We always want to make sure that we have an even canvas to paint on before we do any shadow work. We want to even it all out. So, it is flawless, and it is ready. I prepped her lids by using Mac’s paint pot in the colour painterly, and then I set it with my favourite translucent powder by Elf so it wouldn’t move or crease. This powder layer will also allow the shadows to blend seamlessly on top of it. You took a cream, you set it with the powder. So now it’s a nice smooth layer. When you start blending things on top of that nice satiny smooth layer, it’s going to blend out like a dream.
Picking a gentle colour scheme that you think goes well with you is tip number three.
Application for Eyeshadow
It is a common misconception that a Smokey eye indicates darkness everywhere, however this is untrue. Simply said, a Smokey eye is a look that begins dark at the lash line, diffuses, and becomes lighter as it moves up the lid. not need to be black. It’s not even required for it to be dark brown. Regardless of the hue of smoky eye you want to create the first step in making a Smokey eye is applying a transitional tone or shade in the crease. I started with this cool-toned, mid-level taupe hue from the Mario Master Mattes Palette for my makeup. Using a soft bristle brush, I applied that to the crease of the eye in windshield wiper motions. After you apply this transition colour with your eyes down, it’s always a good idea to look straight into the mirror and shade and blend that colour with the eyes open as well so that you can gauge how far up you need to go to get the most flattering shading in that specific area.
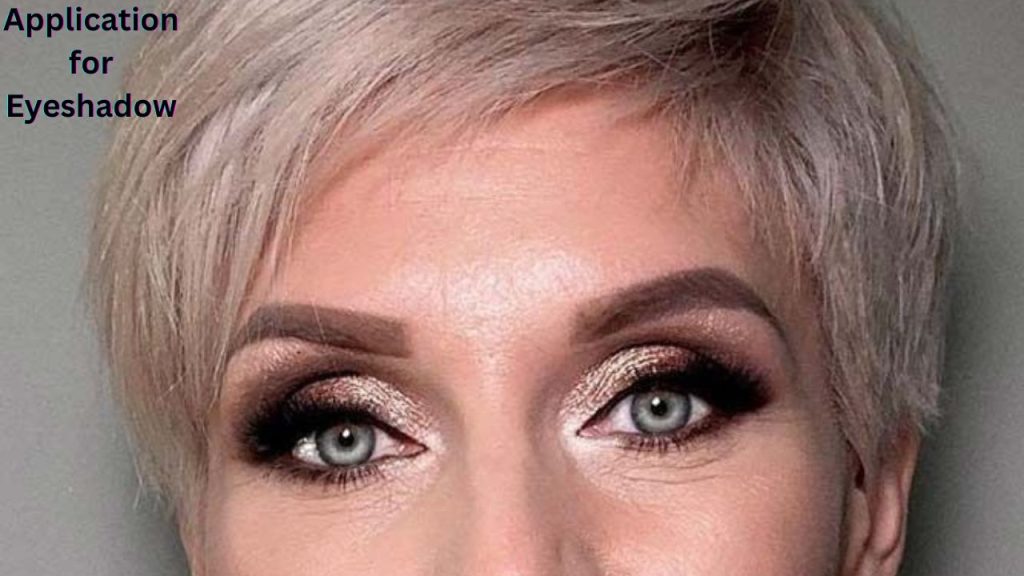
When it comes to smoking out the lid area, you want to go a few shades darker than the crease. Remember that the lash line is going to be the darkest, and it’s slowly going to get lighter as we reach the brow bone. On my model today, I really wanted to use Charlotte Tilbury’s Pillow Talk lipstick because it was very complimentary to the shirt that she was changing into later. So, I decided to add a warm, dusty rose to her eyelid to compliment the lipstick. So, you can see what I did here. I started with a lighter taupe on the crease and then I went a few shades darker for the lid. So even though taupe is in the brown family, dusty rose is in the pink nude family. It doesn’t matter. It just matters the level of colour that you’re at. So, you want to go a little bit lighter in the crease, a little bit darker on the lid, and then the darkest on the lash line.
Tip number three We’re going to get into that right now.
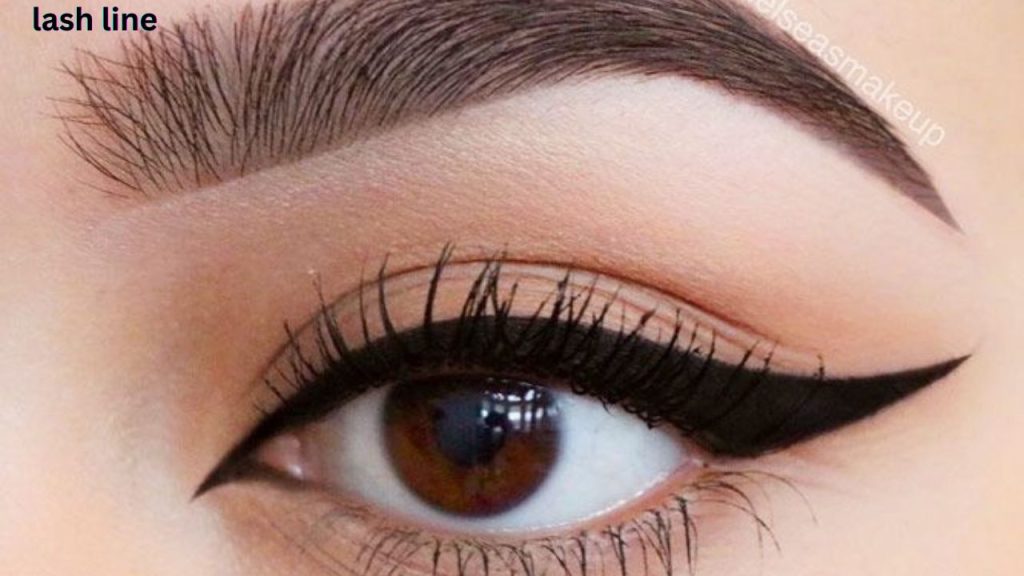
On the lash line, with a small blending brush, I shaded in a dark matte brown colour at the corners of the eyes. You’ll notice that I tilted my brush ever so slightly upwards to give her a little bit of an eye lift, and then to add a little extra depth in the lash line. I then took a dark brown eyeliner and shaded that in between the lashes by lifting the lid up. Lifting the skin up will help you tight line the area without getting the liner looking too heavy and too thick. If you’re doing this on yourself, just lift your brows up as high as possible when you’re applying your eyeliner, so the skin gets really taut. And then with a dense eyeshadow brush, you can go over that line to soften and smoke it out. If you want to soften it out even further, so you used your eyeliner, it was still a little bit too dense and dark. You smoked it out. You’re still feeling like it’s a lot. You can dip back into an eyeshadow, a brown eyeshadow, and go over that line and it’s going to diffuse and soften it immediately.
Tip number four is to trust the process.
This is a point in a smoky eye where everyone gets scared and washes it off. It looks like a hot mess before it looks great because a smoky eye needs a lot of balance. You need to perfect under the eye, so the darkness and the lids don’t bring out the darkness under the eyes. You need to make sure that the skin everywhere else is flawless, and you need to balance the blush and the lips. If you don’t balance all of these things, like even including the brow, it really looks like you’re tired. And you can see that here. I have a monitor where when I’m filming, I can see my model through the monitor, and the model can see herself too. And I even noticed that my model was looking at herself kind of like, “Oh, I don’t know about this. This is not, I don’t like this.” And every stage of the smoky eye at that point is like that because you just did the eyes, the rest of the face isn’t done. So, it just looks so crazy. It looks so crazy until it looks great. So, if you are trying this, if you’re following along with this tutorial and you’re at this stage and you’re like, “I can’t do this, this is too hard, it looks bad,” don’t worry, girl. It looks bad for me too. It looks bad for me too until it doesn’t. So, let’s keep going.
What you need to do when you get to this stage is now taken a Q-Tip with moisturizer and wipe away any fallout. And trust me, there will be lots of fallout at the corners of the eye. Lift up and sharpen that smoky line out and upwards. The moisturizer on the Q-Tip will act like a very precise eraser and it will prep the skin for concealer at the exact same time.
Now that the fallout is gone, it’s time to go in with a primer and foundation. In this video, I wanted to focus on smoky eye education and not on the base application because I don’t want it to get too overwhelming and too scary and too long.
Tip number five
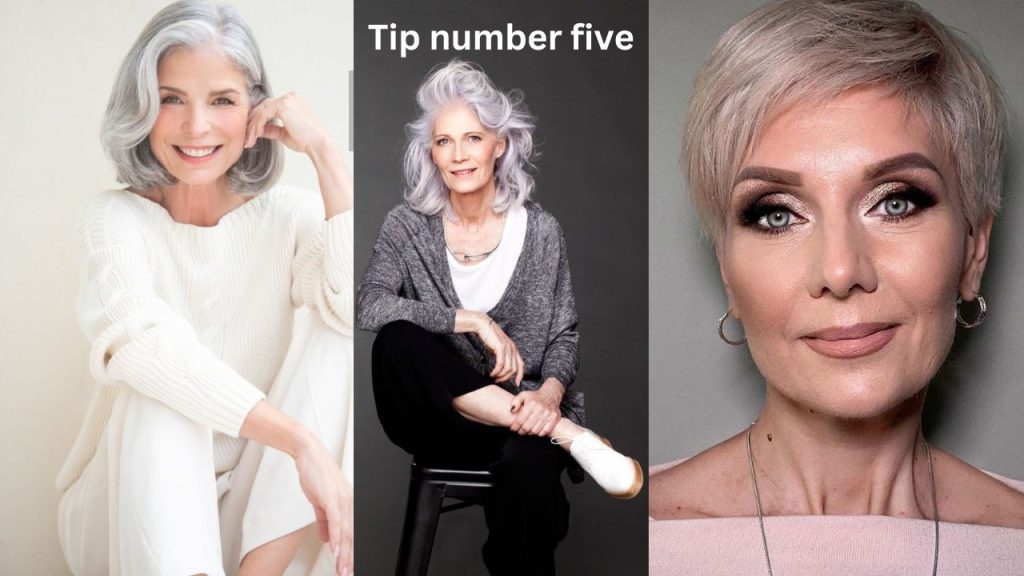
Tip number five is to do your best to camouflage any darkness under the eyes. Under-eye circles plus a smoky eye is a recipe for disaster. It looks really, really bad. So, we have to do our absolute best to correct it. After your foundation is on, you can go in with your concealer. The concealer that I use today that I love for mature skin is a L’Oreal Age Perfect one. It is full coverage, but it’s still very creamy, and I don’t find that it creases too much. I strategically applied that onto the hollow areas of the eyes to bring them forward, and then I softly blended it out.
Now, if we don’t set concealer with a powder, it will crease no matter what. But it’s tricky because if you have lines around the eyes, and everyone who’s an adult does, everyone does. Okay, don’t worry about it. Powder can sometimes make you look crepey in that area. It’s the number one struggle that I hear mature women talking about when it comes to makeup. What I like to do is I like to take a triangular powder puff. I bought this one from Amazon. I’ll leave a link to it below, and I take a very finely milled translucent powder like the one from ELF that I love. And I set the area by pressing the powder into the concealer in the hollow zone. I typically avoid too much, if any, powder in the crow’s feet area because there’s so much movement there. But in the inner tear duct hollow zone, it’s typically fine to do it depending on the person and their skin issues,
of course.
The final tip is to smoke out the lower lash line.
Lower Lash Line Smokey Eye Application
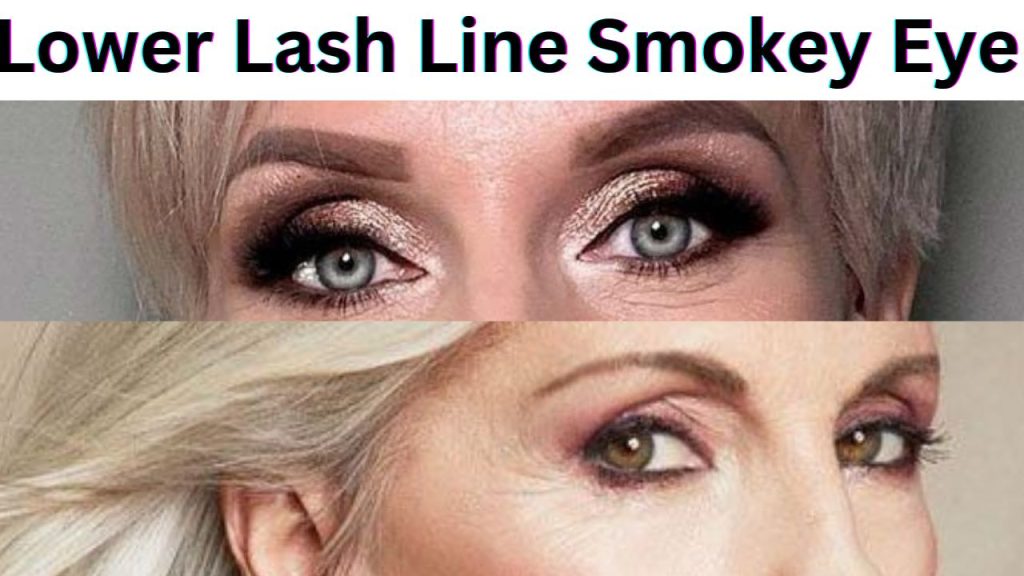
It will make the whole look feel more cohesive, and it will bring that extra sexiness to the look. I always like to start out with the lightest colour on the lower lash line, and then I slowly build it up to the darker shade. I typically use the exact same colours that I used on the lid, on the lower lash line. So, if you use a taupe, you’re using taupe under the eyes. If you use a dusty rose, you’re using dusty rose under the eyes as well. And for this look, I only added shadow halfway through because if I went all the way in, it would have made her eyes look a little too small. I really wanted her to look awake and fresh, so I only did half of the eye with the shadow and then I blended it out very, very well.
And that’s it. Those are the five most important tips to follow when doing a Smokey eye on more mature eyes. I hope you found them helpful. And I hope it makes it a little less scary for you to try it on yourself.
Conclusion: Timeless Beauty, Timeless Techniques
As we age, our approach to beauty and makeup evolves, but the desire to feel confident and beautiful remains the same. By incorporating these eye makeup tips for older women, you can achieve a look that is both timeless and flattering. The key is to adapt your routine to complement your features and embrace the changes that come with time. With the right products and techniques, you can enhance your eyes, brighten your look, and continue to express your unique style. After all, true beauty knows no age limits—it’s all about feeling your best at every stage of life.