Create a beautiful and sustainable garden with our DIY Vertical Garden Ideas using recycled plastic bottles. This comprehensive guide covers everything from drilling and cutting to planting and maintenance, helping you build your perfect vertical garden.
Introduction
What You’ll Need for Your DIY Vertical Garden
What’s up, guys? In this guide, I’m going to show you how to create a DIY vertical garden using simple materials like plastic bottles. This project is perfect for recycling and can be done with items you probably already have at home. Let’s dive into the details of what you’ll need and the steps to get started.
Step 1: Preparing the Plastic Bottles
Drilling Holes in the Bottles
What I’m gonna do now is simply drill a hole at the bottom of every plastic bottle. This step is crucial for allowing water to drain properly from each bottle, ensuring your plants stay healthy. Use this drill bit—you can buy it at any tool shop. I use size [insert size here]. I’m just gonna drill the bottom of this bottle.
Stacking the Bottles
The bottles should stack together like this. Once you’ve drilled the holes, you can go on to do the rest of the bottles. Keep all the plastic caps because you’re gonna need them later.
Step 2: Preparing the Plastic Caps
Creating Drainage in the Caps
So, what we’re gonna do now is drill a few holes in the plastic caps. This is going to be the drainage for your vertical garden. I use something like [insert tool name] to keep the cap in place—don’t hold it with your hands, as you could easily make a mess and hurt yourself.
Assembling the Drainage System
Drill about four holes in each cap for effective drainage. This will ensure that excess water doesn’t accumulate at the bottom of your bottles. After this, you’ll have all the caps ready for the drainage system of your vertical garden.
Step 3: Cutting the Bottles for Planting
Marking and Cutting the Bottles
To prepare the bottles for planting, you’ll need to make some cuts. Grab your bottle, turn it upside down, and draw a rough segment about halfway up. You don’t need to be super precise—just mark the spot where you’ll cut. Once you’ve marked all your bottles, use a cutter to carefully follow the lines you made and cut out the sections.
Step 4: Fixing Bottles to the Wooden Structure
Attaching the Bottles
Once you’ve got all your bottles pre-made with the hole at the bottom and the cut on the side, start fixing them on your wooden structure. In this case, I already attached the wooden structure to the wall. You can put it vertically or horizontally—whatever you prefer, as it works either way. You can find the wooden structure in any garden center or even at hardware stores. If you check the link in the description, you can find this and many other items that I use in my garden.
Securing with Caps and Staples
I used ten plastic bottles: five with a hole at the top and five without. The first bottle without the hole at the top—you just stick it into another bottle like we did at the beginning of the video. Use one plastic cap here to hold both bottles in place, and one at the bottom. You’re also gonna staple this part to your wooden structure so it’s not gonna fall. Now, I’m gonna proceed to do all the bottles like this. I’m going to start by grabbing the first pair of bottles, checking where my sign is, and starting from there to staple it to the wooden structure.
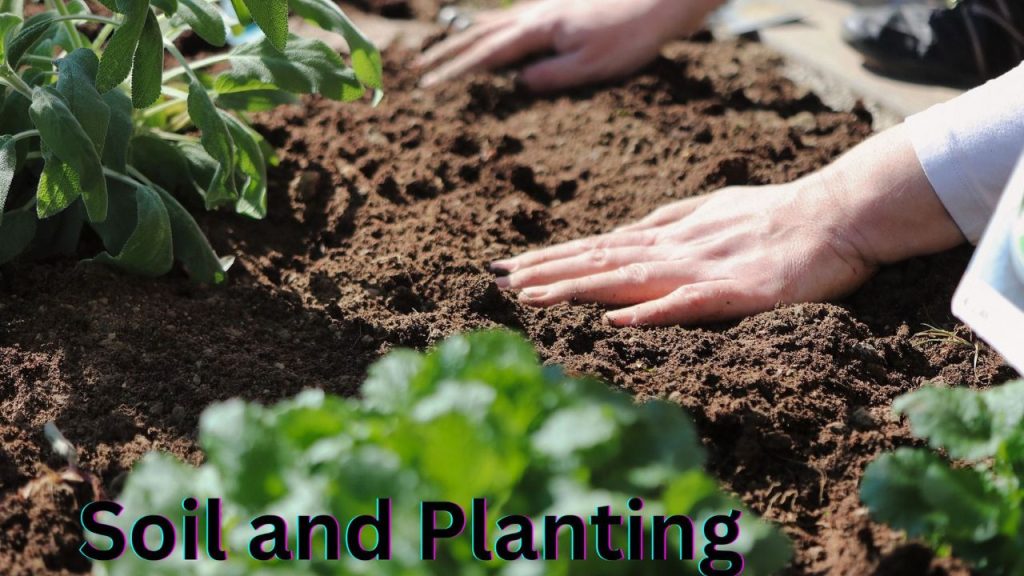
Step 5: Preparing the Soil and Planting
Adding Drainage Material
Fill each container with clay pebbles to provide adequate drainage. By doing this, you can lessen the chance that the roots will sit in water and decay.
Filling with Soil
You don’t need to add too much soil at this point because once you transplant your plants, you’ll top it up with more soil. This will give your plants a stable base to grow.
Protecting the Roots
I’m just gonna paint the bottom of each bottle to protect the roots from sunlight. I’m using acrylic white paint because it works pretty well on plastic. I recommend doing at least two coats to ensure good coverage.
Step 6: Planting in Your Vertical Garden
Relocating Your flora
I’m going to put this strawberry rhizome in my vertical garden. It will be ready to be transplanted into my vertical garden when I just chop it here. I need ten of my clones since we have ten bottles. Any plant, not just strawberries, should have a little area in the center, with your strawberry clone looking upward and outward as it will eventually grow to the top.
Mulching for Water Retention (Optional)
I also recommend mulching to help with water retention, though this is optional. Mulching can be an extra step that helps keep your plants hydrated longer.
Step 7: Final Touches and Maintenance

Watering Your Vertical Garden
Now that everything is planted, it’s time to water your vertical garden. If the water isn’t dripping down through the bottles as it should, you can adjust the caps to improve the flow.
Adjusting the Cups for Better Flow
If needed, make small adjustments to your setup to ensure proper water flow through the entire vertical system. This will help keep your plants healthy and well-watered.
Conclusion
Recycling for a Greener Future
This is just one way to create a vertical garden, but there are many other methods out there. The main thing to me is that you recycle. I believe that if we all do our small part, in the end, we could make a big change.