“Explore five beautiful crochet edging and border patterns that bring a polished touch to your creations. Elevate your crochet projects with these stylish and easy-to-follow designs.”
Welcome to Learn crochet edging and border patterns
Hello, my love and welcome back! Adding a border to your crochet project gives it that much-needed finishing touch. In today’s article, I’m walking you through five border patterns that make my hook do a happy dance.
Cup of Caffeine Sponsor
Now, if you’re down to stitch with me, we can’t pick up our hooks without giving some love to our cup of caffeine sponsor. Today’s cup of caffeine sponsor is Cindy. When donating, Cindy said, *” you taught me the basics when I started to crochet several months ago. You are my go-to when I want to learn a technique thoroughly and correctly, and when I want to learn an inspired, fun, elegant pattern. Thank you!”* Thank you so much, Cindy. It means a lot to me to be a resource as you learn even more crochet skills. You keep that hook moving.
Materials and Setup
For this project, I’m using DK weight Superwash Merino wool and a 4mm hook throughout. Now, let’s get stitching!
Double Arch Border
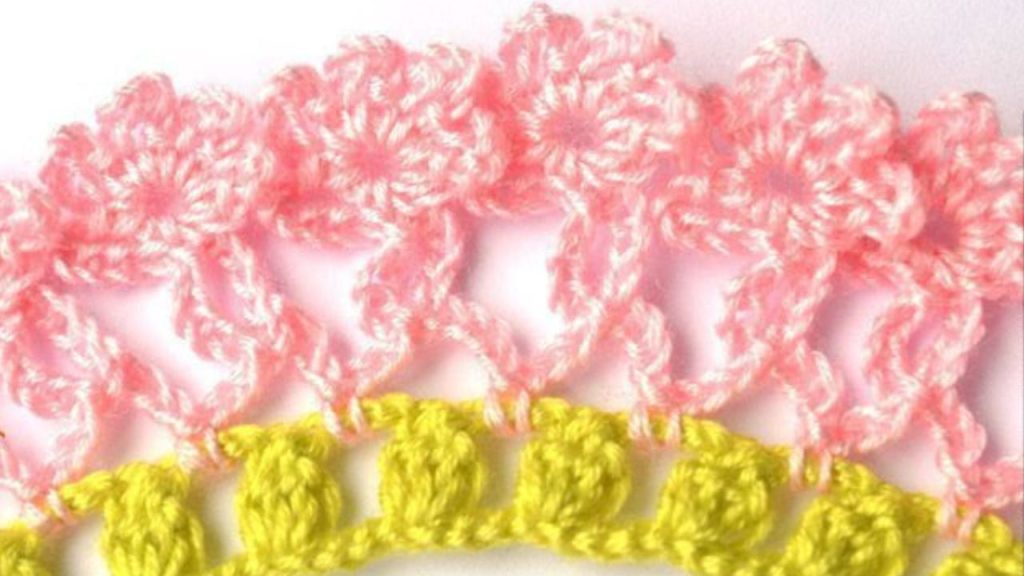
The first border we’ll look at is the Double Arch Border, which is way easier to stitch than it looks. The Double Arch Border has two rounds and uses two different colors. I’m going to start off with this pretty gold here and finish off with this pink.
Grab your hook and start in any corner by joining with a slip stitch. Chain five, skip the next two stitches, and slip stitch in the following stitch. Continue this pattern around, and as you come to the end of the round, adjust slightly to ensure a smooth finish.
For the next color, join the pink in the same stitch where you ended the gold. Chain five, push the loop forward, and slip stitch into the first skipped stitch. Lift the loop, insert your hook through the front of the loop you just pushed forward, and continue this pattern all the way around.
Adjusting the Loops
If some of your wraps appear flat, lift and adjust them to give them more body and space. This border is so fun and playful—it looks like candy to me! It’s a great option to elevate your project.
Braided Edge
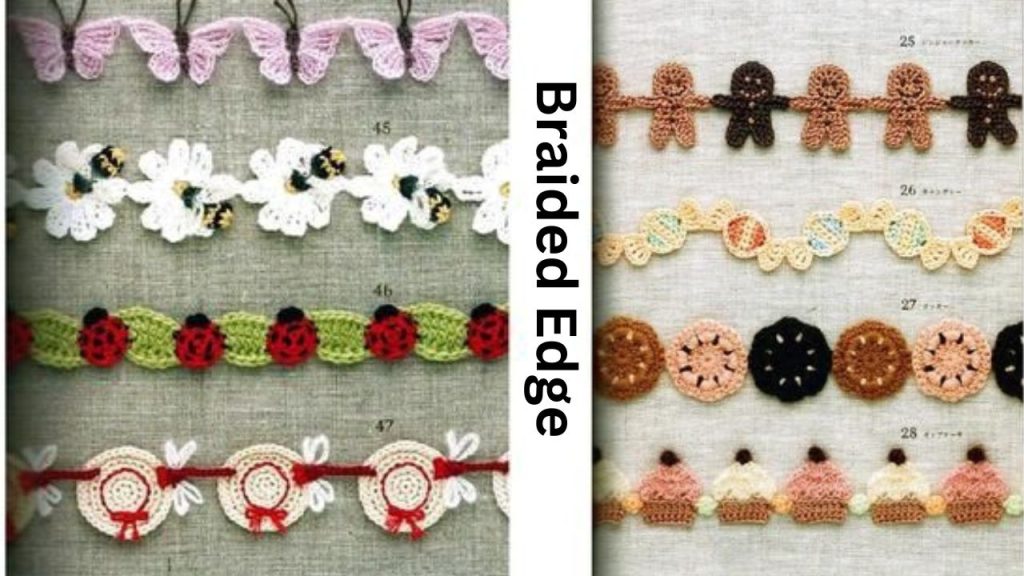
Next up is the Braided Edge, which uses just two little stitches to make a subtle yet striking statement. To start this, begin in the middle of the row instead of in the corner.
Insert your hook, pull up a loop, chain one, and slip stitch in the same stitch. Continue with the pattern: slip stitch, chain one, slip stitch, chain one. This creates a lovely zigzag braid.
Versatile Use of Braided Edge
This border is incredibly simple yet elegant and can be used on a blanket, sweater cuff, or even the edge of a cute bucket hat. It’s a versatile border that you’ll definitely want to use again.
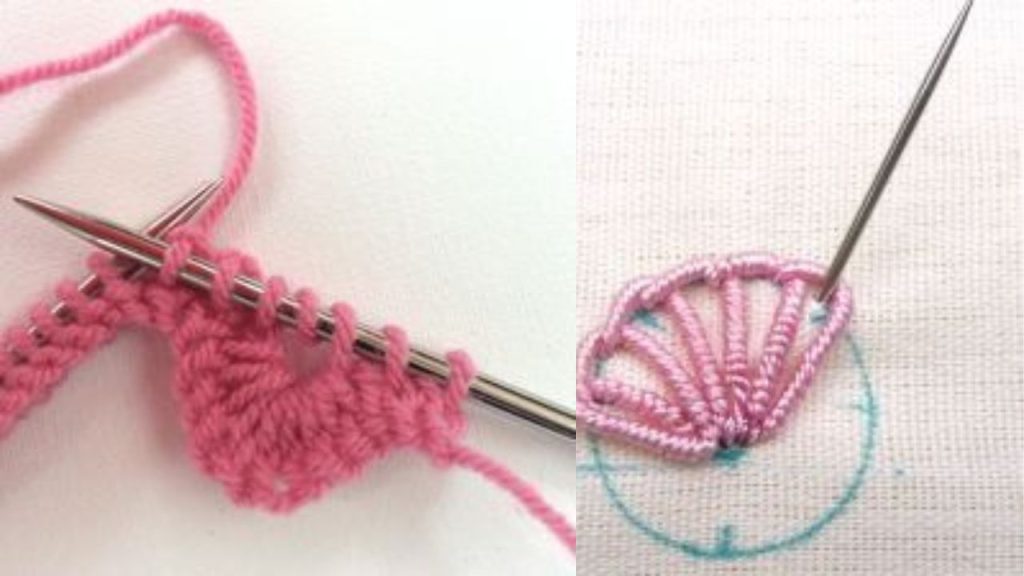
Fan Border
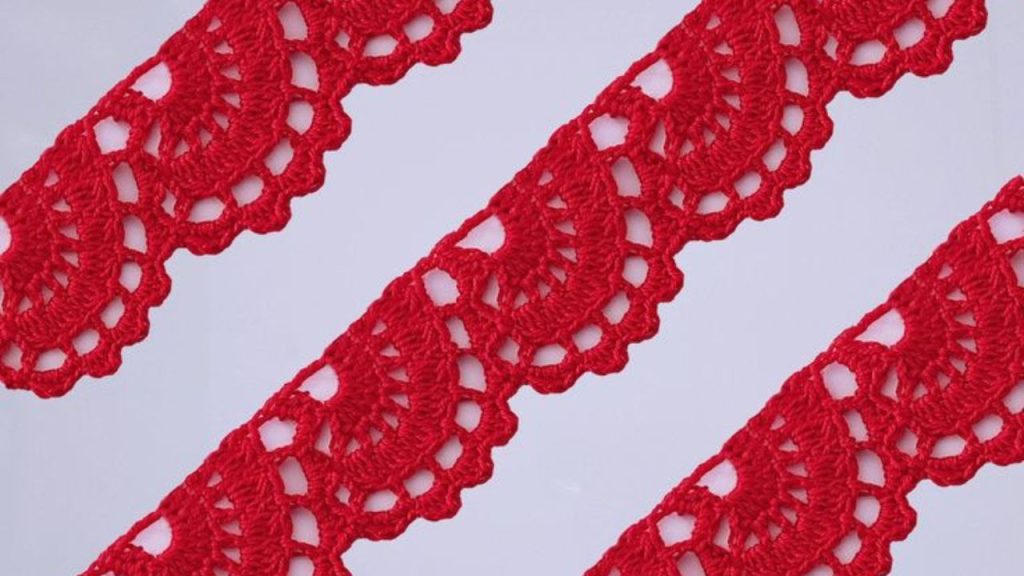
Try out this lovely Fan Border when you want to add visual interest without making things too fussy. To make this look as seamless as possible, start in the corner with a standing double crochet.
Hold on to your tail to prevent your knot from rotating, yarn over, and insert your hook into the corner space. Work two more double crochets into the corner, skip the next stitch, and place a single crochet in the following stitch.
Continuing the Fan Pattern
Skip two stitches, then place a fan (five double crochets) in the next stitch. Continue this pattern around, placing a fan in each corner. This classic fan stitch is absolutely gorgeous and can be used on various projects.
Finishing the Fan Border
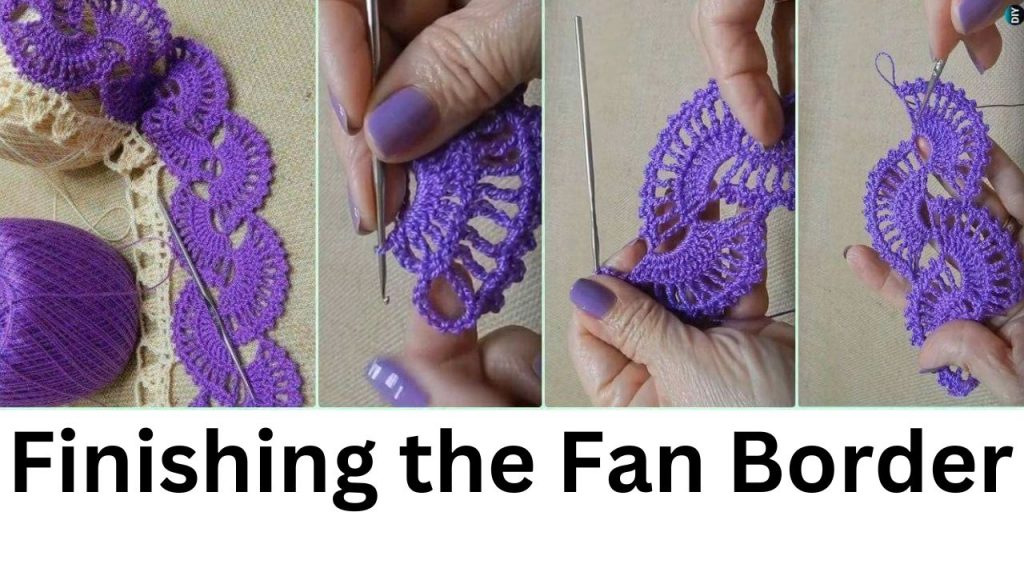
To finish off, skip two stitches, single crochet in the next, then place your final fan in the corner. Use an invisible join for a seamless look. This border is perfect for adding an elegant, timeless finish to your work.
Shell and Picot Border
The Shell and Picot Border is another border that looks complicated but is actually very simple. Start in the corner with a standing single crochet. Chain one and place another single crochet in the same space.
Skip one stitch, place seven double crochets in the next stitch, skip one, and single crochet in the following stitch. Repeat this pattern all the way around. In each corner, place two single crochets with a chain one in between.
Final Steps for Shell and Picot Border
To complete the round, slip stitch into the first standing single crochet. Once you’ve finished, appreciate your charming shell border, which is ideal for lending a delicate touch to your crafts.
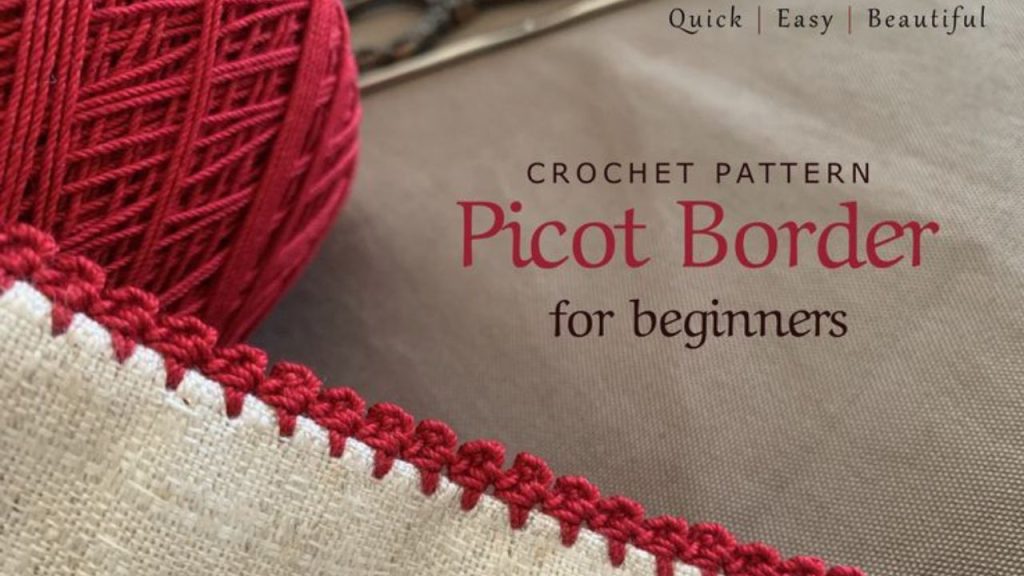
Picot Edge
The Picot Edge is the next border in this article; it’s probably the simplest, but it still creates a lovely, pointed border that looks really lovely.
Start with a slip knot, place your hook into a corner stitch, and secure it with another slip stitch. Slip stitch into the second stitch, chain two, slip stitch into the next stitch, and so on.
Completing the Picot Rib
Follow this sequence from beginning to end. To complete, slip stitch into the last stitch, chain two, then slip stitch into the same stitch one more. You’re done after you fasten off! This delicate yet sophisticated border is ideal for applications that require a soft edge.
Conclusion
And there you have it—five fabulous borders to enhance your crochet projects, each bringing its own unique charm. Whether you’re looking for something playful like the Double Arch Border, elegant like the Braided Edge, or simple yet effective like the Picot Edge, there’s a border here for every style and project. I hope you enjoy experimenting with these patterns and adding a beautiful finishing touch to your work. Happy crocheting, and until next time, thank you so much for joining me! Read mor interesting Article.